Tutorial · Design
Design a prototype from the Knowledge Base
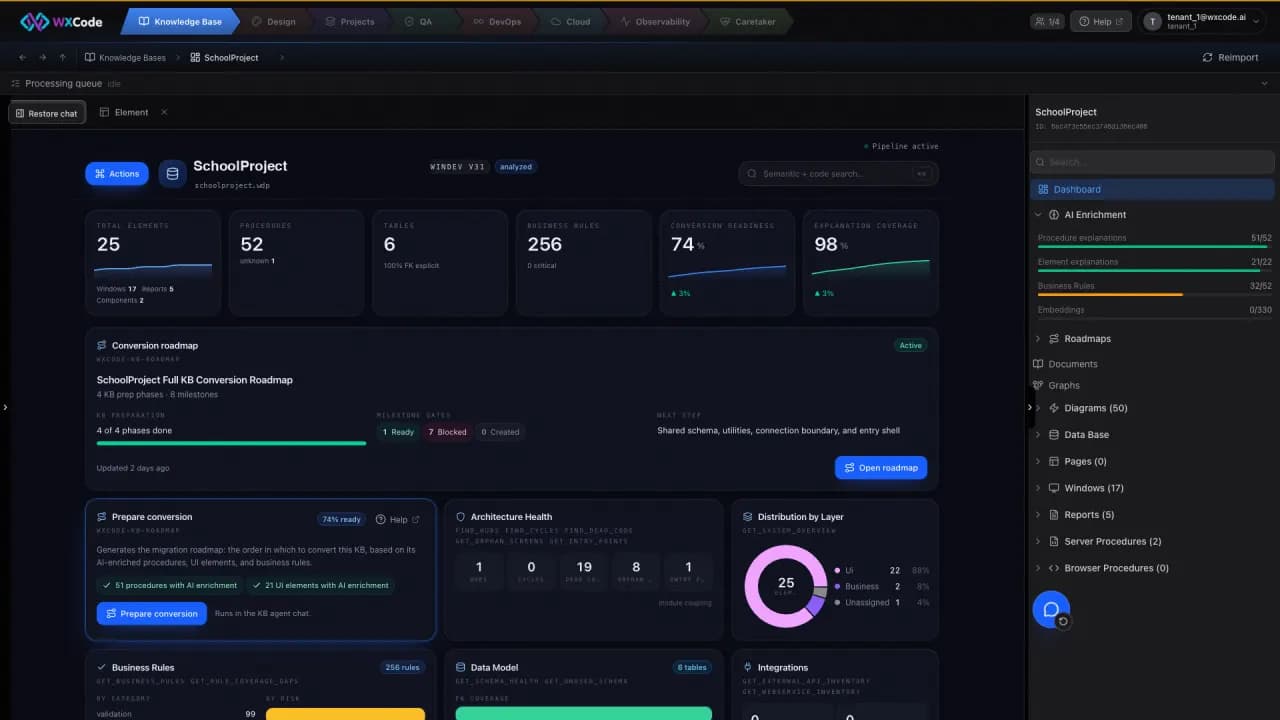
The Design cockpit starts with the Knowledge Base. A visual template supplies a look; the imported system supplies the screens, fields, and concepts the prototype must represent.
Choose a visual starting point
Open Design from the project Knowledge Base and inspect template previews. The walkthrough compares several looks before choosing one suited to a school system. A template brings a visual system and example page types; it does not decide the business fields.
Brief the screens against the source
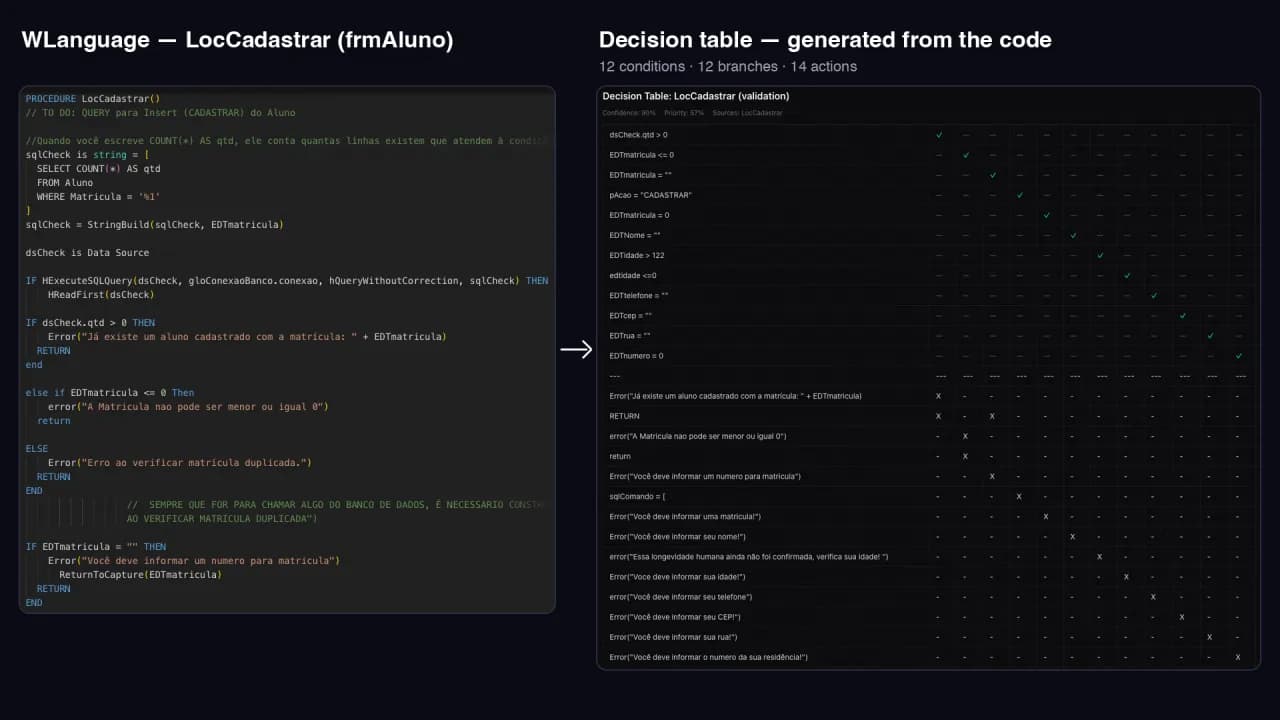
The brief offers screens found in the project, such as students, classes, lessons, reports, and access pages. The agent maps those entities into the selected style and creates pages for review. The student form in the walkthrough carries fields the WinDev project already validates.
- Choose the screens that matter for the first review.
- Check that labels, fields, and workflows match the Knowledge Base.
- Inspect desktop and mobile layouts as part of the prototype.
Review and mark changes
Open the generated pages, test interactions, and request adjustments in chat. The Mark tool lets you point to an exact area and describe a change, such as pagination on a list. When the business approves the result, the prototype remains with the project as the visual reference for conversion.